Stake your claim on your favorite pillowcase by adding an initial! It’s a timeless design that can outlast trends and become a foundational piece that grows with you as the rest of your style evolves. Initials can be elegant, playful, or straightforward, depending on your level of crafting ambition. Either way, it’ll be 100% you, whether you’re trying to keep track of your favorite pillow on your bed, or simply wanting to elevate your bedding design.
This easy DIY uses a few simple supplies that will help you give a completely custom touch to a standard pillowcase. Don’t be nervous about the embroidering, as this is the easiest stitch for a beginner. Here’s how to try it yourself:
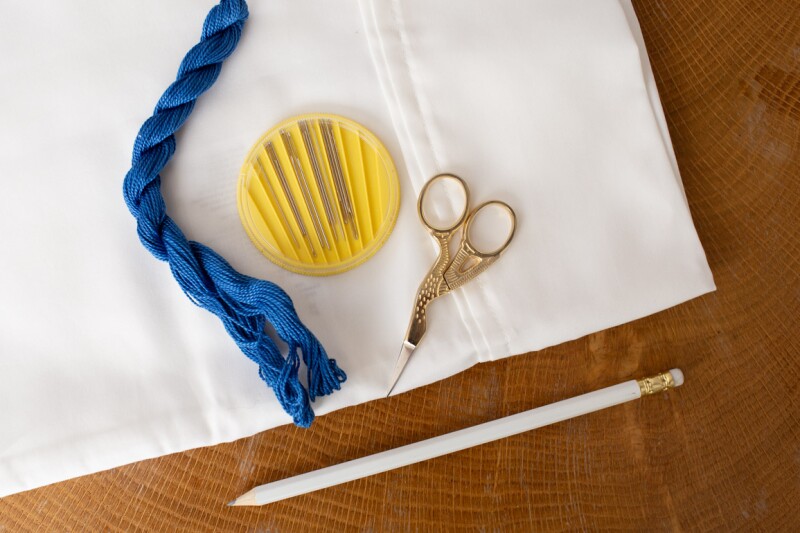
What you’ll need:
- Standard white pillowcase, washed and ironed
- Chalk or pencil
- Embroidery thread
- Embroidery hoop (optional)
- Needle
How to embroider your pillowcase:

Step one: Start with a washed and ironed pillowcase. Pay extra attention to ironing the area where you want to embroider your letter so you’ll have a nice, smooth work surface.

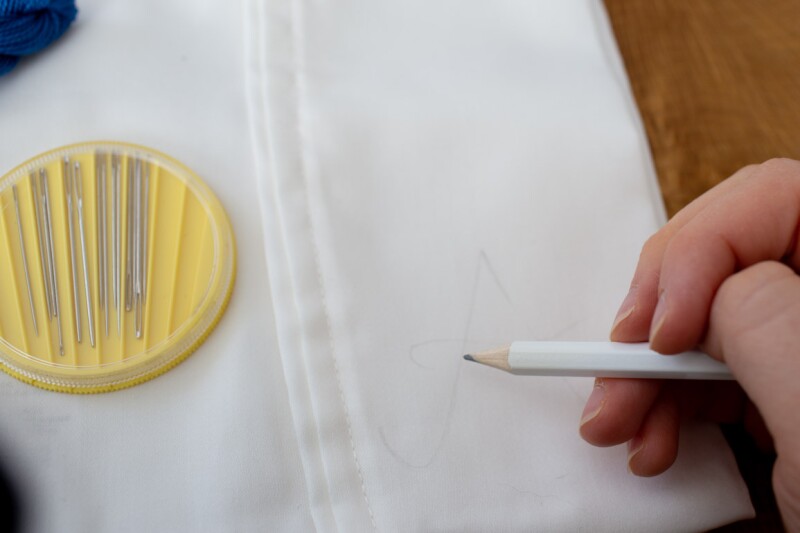
Step two: Using a piece of chalk or pencil, draw your letter. If you’re feeling ambitious you can do a full set of initials or spell out a name — whatever you’re up for! — but it might be easiest to start with a single initial. Press very lightly if you use pencil; there’s really no easy way to remove firmly pressed lead from fabric once it’s applied.

Step three: Thread your needle and knot the end. Here, we doubled up the thread and knotted both pieces at one end for a thicker looking line of color. Starting at the beginning of the letter, create a small stitch. Leaving a stitch-length of space, do another.

Step four: Repeat the above process, making sure to keep the stitch length equal. This is called a running stitch, and it’s one of the easiest to embroider. Depending on the shapeliness of the letter you choose, don’t be afraid to tie off your thread and start again for different pieces of the letter.

Step five: Finish your letter and be sure to make a double knot on the inside of the pillowcase to secure the thread.

And you’re done! How easy was that? If you want to add an extra challenge, try using a lightbox to trace a more complicated font onto your pillowcase. And feel free to vary the letter placement, from the bottom corner to the middle of the pillowcase.


